By Geoff O'Callaghan

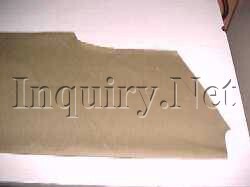
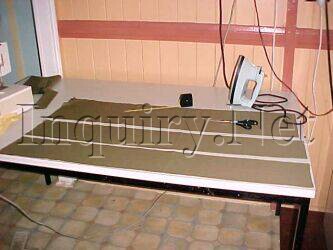
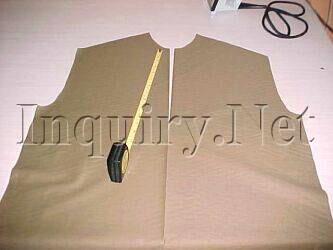
Making the Scout Shirt. To start with, a length of fabric, the same length
as the shirt and twice the width, is folded into 4 lengthways. This is done very
neatly so that the front and back panels can be cut simultaneously.

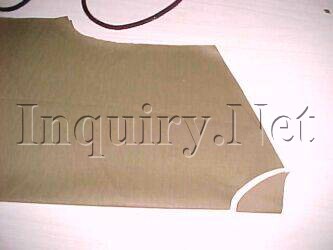
The collar cut is between 4cm and 6cm according to size. The shoulder is cut
away at an angle of about 15degrees. The side is slit to the bottom at the fold.
This should make two panels, one for the front, and one for the back.
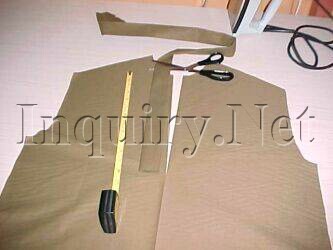
The armhole is cut using a template. The cut is about
4cm deep and varies across the diagonal according to the size of the shirt.

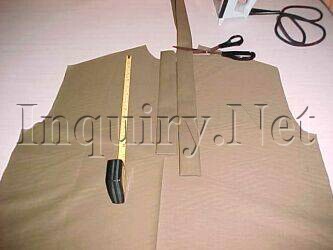
The bottom of the shirt can be rounded off to make 2 tails with the front of
the shirt shorter than the back, or it may be left square for the moment, as has
been done here.
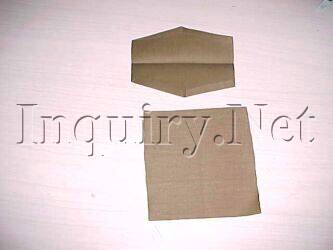
The pocket is cut with a wedge-shaped top that sandwiches over the flat
rectangular panel. There are other ways of doing the patch pocket.
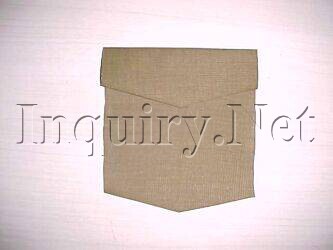
When finished, the sides and bottom of the patch
pocket should be ironed to the back for sewing onto the shirt front later.
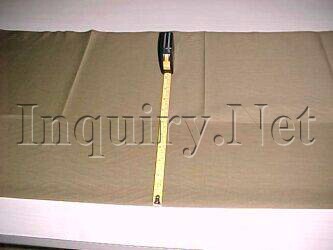
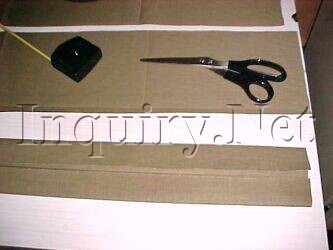
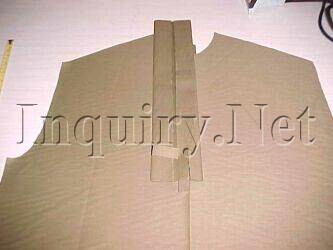
Next, we cut some strips from
the fabric. These will be used for making plackets, cuffs, and the collar.
The strips should be ironed flat so they can be folded and used
easily.
To make placket and button strips, fold the edges of
the strips to the centre and iron thoroughly.

Fold it in and iron thoroughly to make
the narrow button strip and the placket strip.
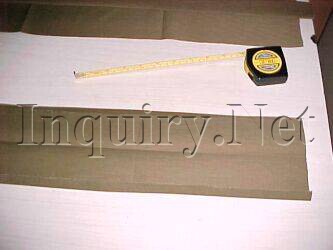
For the collar, turn the edges of the strip in about 1 cm and
iron flat.
This wider strip is used for the collar and the two cuffs.
Check that it is of constant width.
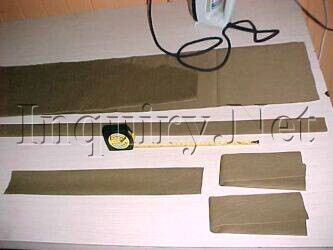
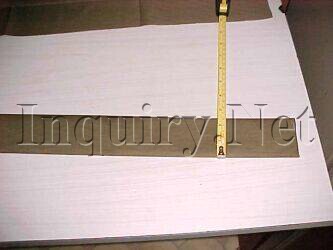
The two cuffs are cut, leaving enough strip for the collar
strip.
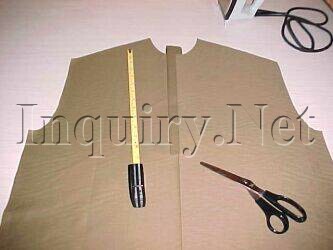
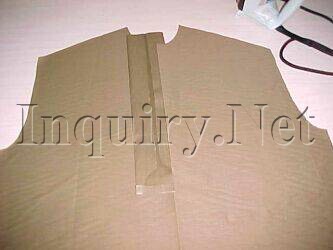
Separate the front panel from the back. Cut the collar deeper (Think of a
football shape). This will allow the collar to sit lower on the front of the
shirt, or else it will appear to be too high on the throat.
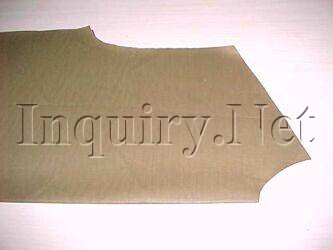
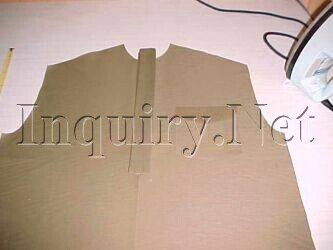
The front panel of the shirt should look like this. Cut a
slit from the base of the collar about 12 inches, or 30cm.
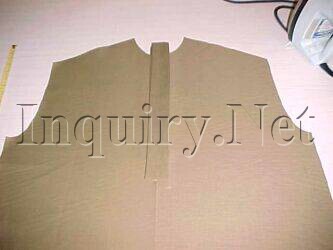
This makes the slit for the front placket. On the shirt, it
should be just above the navel.
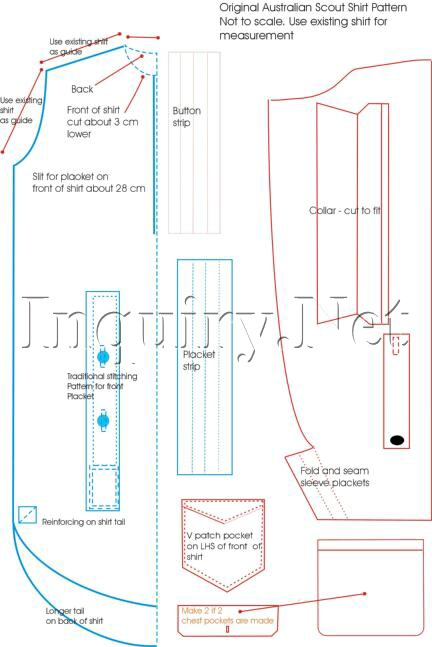
When the shirt is folded out and laid out flat, the basic design can be seen.
It is not necessary to make a special cut at the base of the slit. The placket
front is actually easier to make than a polo front.
Cut a piece of the narrow strip to length for the button
strip.
Then a slightly longer piece of the strip for the front button hole
strip. This will be the placket.
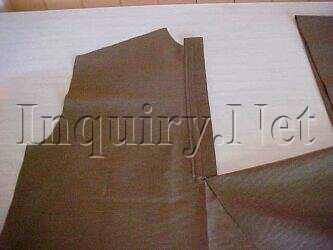
Make sure the button strip is placed neatly along the slit.
Once the button strip is in place, the placket strip is lined up
so that it covers the button strip exactly. A small slit is cut in line with the
slit on the front panel of the shirt.

Cut out a segment of the inner folds on the placket strip to reduce the
amount of fabric that has to be sewn when the placket is fitted.
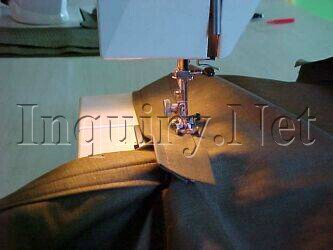
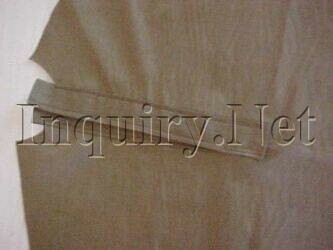
Slide the front placket into place over the button strip. It is folded up at
the base and ironed flat.
The front placket is sewn down the closed fold about 1/6th in.
The placket is sewn into place on the shirt.
The pocket is then placed onto the front panel of the shirt and pinned into
place.
To recap - first sew in the button strip
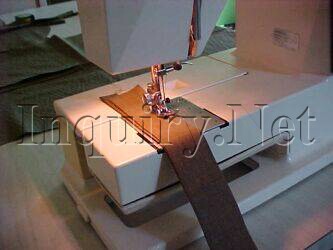
Sew down the fold of the placket front as this sewn line cannot be done once
the placket is sewn in place on the shirt.
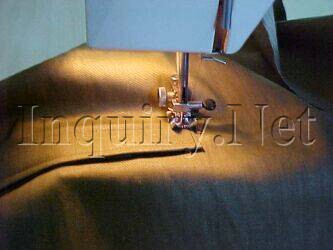
Place the placket strip correctly in place. Sew it about 1/6th of the way in
to give a good line of cotton stitches. This helps give the placket a well
tailored appearance.
At the bottom of the placket strip, make sure to pull the button
strip out of the way.

Keep the front panel tight to prevent unwanted folds. Make sure the end of
the placket lines up straight. You don't want odd curves at this stage.
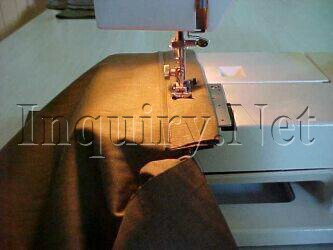
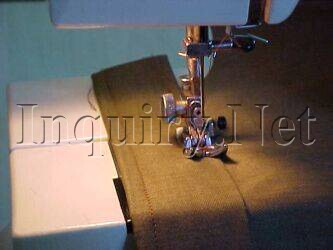
Now sew along the base of the placket.
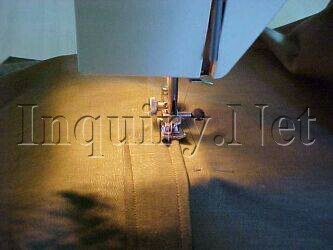
Sew up as far as the end of the slit. This can be marked with a
pin. Sew past the pin to make a nice border on the "foot" of the
placket.
Position the placket strip ready for the first stitch across the placket.
This will make a very strong base to the placket foot. It this is not sewn
properly, it may tear later on.
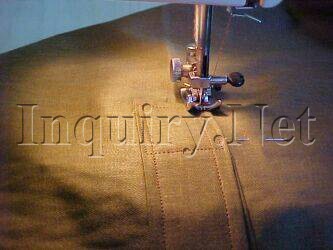
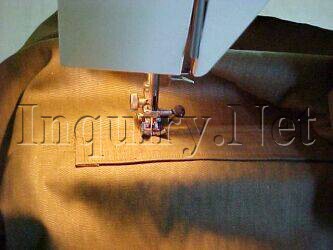
Continue sewing around the placket foot, making a nice "frame". You
will have to sew over a line of stitches, but this is OK. The top of the placket
foot has 2 lines of stitching.
The placket is now stitched firmly into place above the button strip. Notice
how smooth it is. No awkward folds and the whole assembly lies flat.